Although PDF files are popular for sharing information, at times images are easier to view, share and edit. There are times when we want to change PDF files into images. Meanwhile Portable Network Graphics (PNG) is a standard image format on the internet and supports high quality compression. Now you can convert your PDF files into PNG images easily. But how do you change a PDF to a PNG image?
Many offline and online tools exist to change PDF files to other formats and vice versa in today's technology. Let us show you 6 easy ways and software to convert PDF to PNG on Windows, Mac and with online support.
Tools I Need to Change PDF to PNG?
There are several things to consider while picking a PDF to PNG converter perfectly. However, the most important thing is to ensure the software works with your operating system efficiently.
And if you have a Windows device, PDF Agile is a great choice for converting PDF files to various image formats. For example PNG, JPEG, etc. Because, it offers an intuitive interface and a range of features that simplify and make the conversion process resourceful.
Moreover, PDF Agile supports high quality output and fast processing times. Your images will retain their original clarity and feature. It is a reliable and user friendly solution to convert a single page or an entire document.
Yet, Mac users can also use the built in Preview app on macOS for conversion. Commercial software like Adobe Acrobat Pro DC and Adobe Photoshop can handle the conversion from PDF to PNG for Windows and Mac both.
Are you looking for more alternatives? PDF Agile online converter efficiently transforms PDF files into image formats in every operating system. You will get a simple browser based solution without installing additional software or tools.
Away from the operating system consider other factors too. Such as cost, file size, conversion quality and your specific desired features.
So, let’s explore how to convert a PDF to a PNG using the offline and online programs we have mentioned above.
Method 1: Convert PDF to PNG with PDF Agile
You can convert each page of a PDF into a separate PNG file or merge a multi-page PDF into one image using PDF Agile. You can choose the pages you want if you don't need to convert the whole document. It allows you to convert several PDF documents to PNG files at the same time. It works perfectly on Windows 7, 8, 10, and 11. This versatile tool can also edit and compress PDFs. As well as, it converts images to PDFs among other features. Let us walk you through the steps to convert a PDF to a PNG using PDF Agile. So, you can confidently manage your document conversions with minimal stress.
See the steps below to change a PDF into a PNG on Windows.
1. Open PDF Agile: Launch the PDF Agile application on your Windows device.

2. Open it to perform conversion.
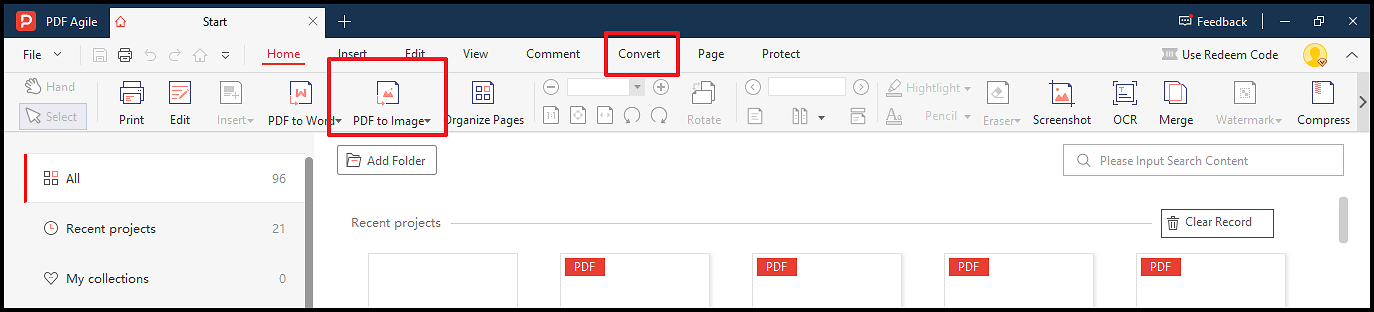
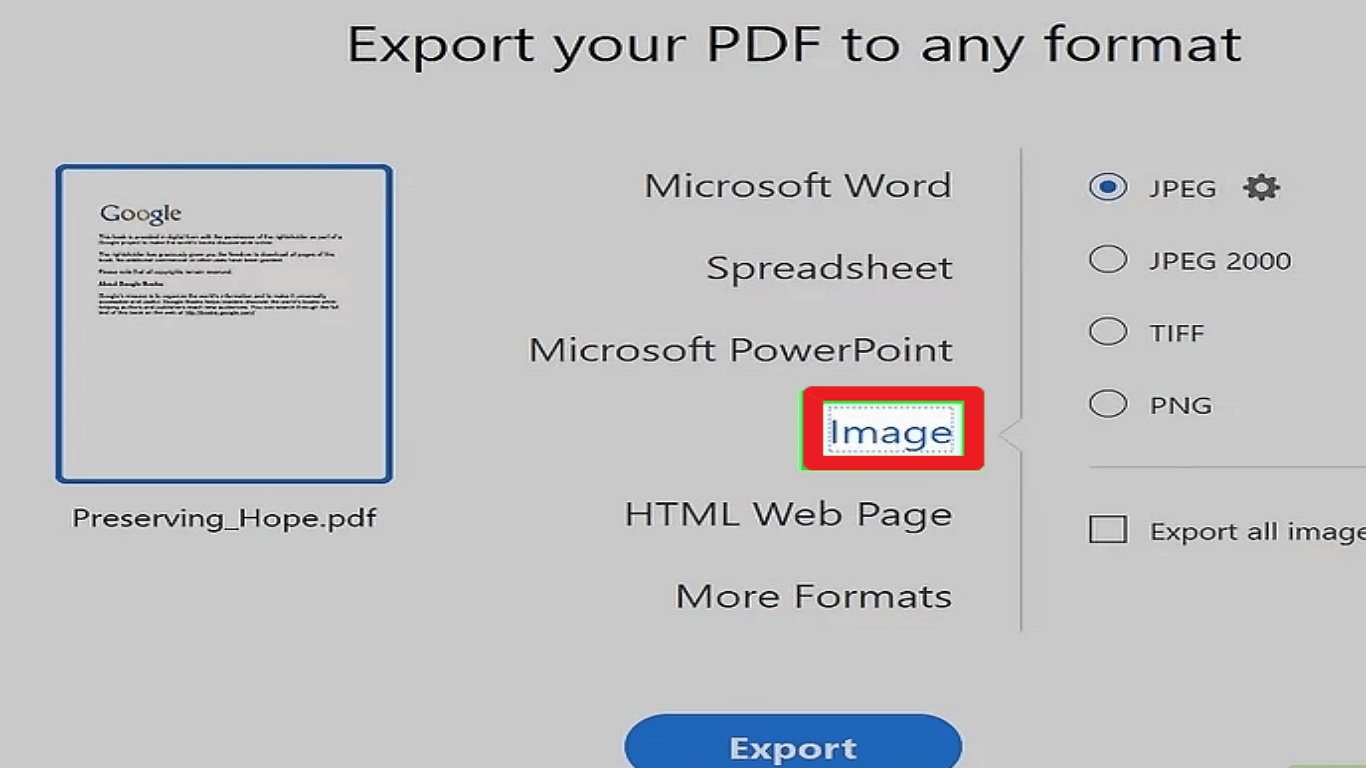
3. Choose Output Format: Go to the Convert option and click on PDF to Image icon.
4. Click on Add file to select your desired file.
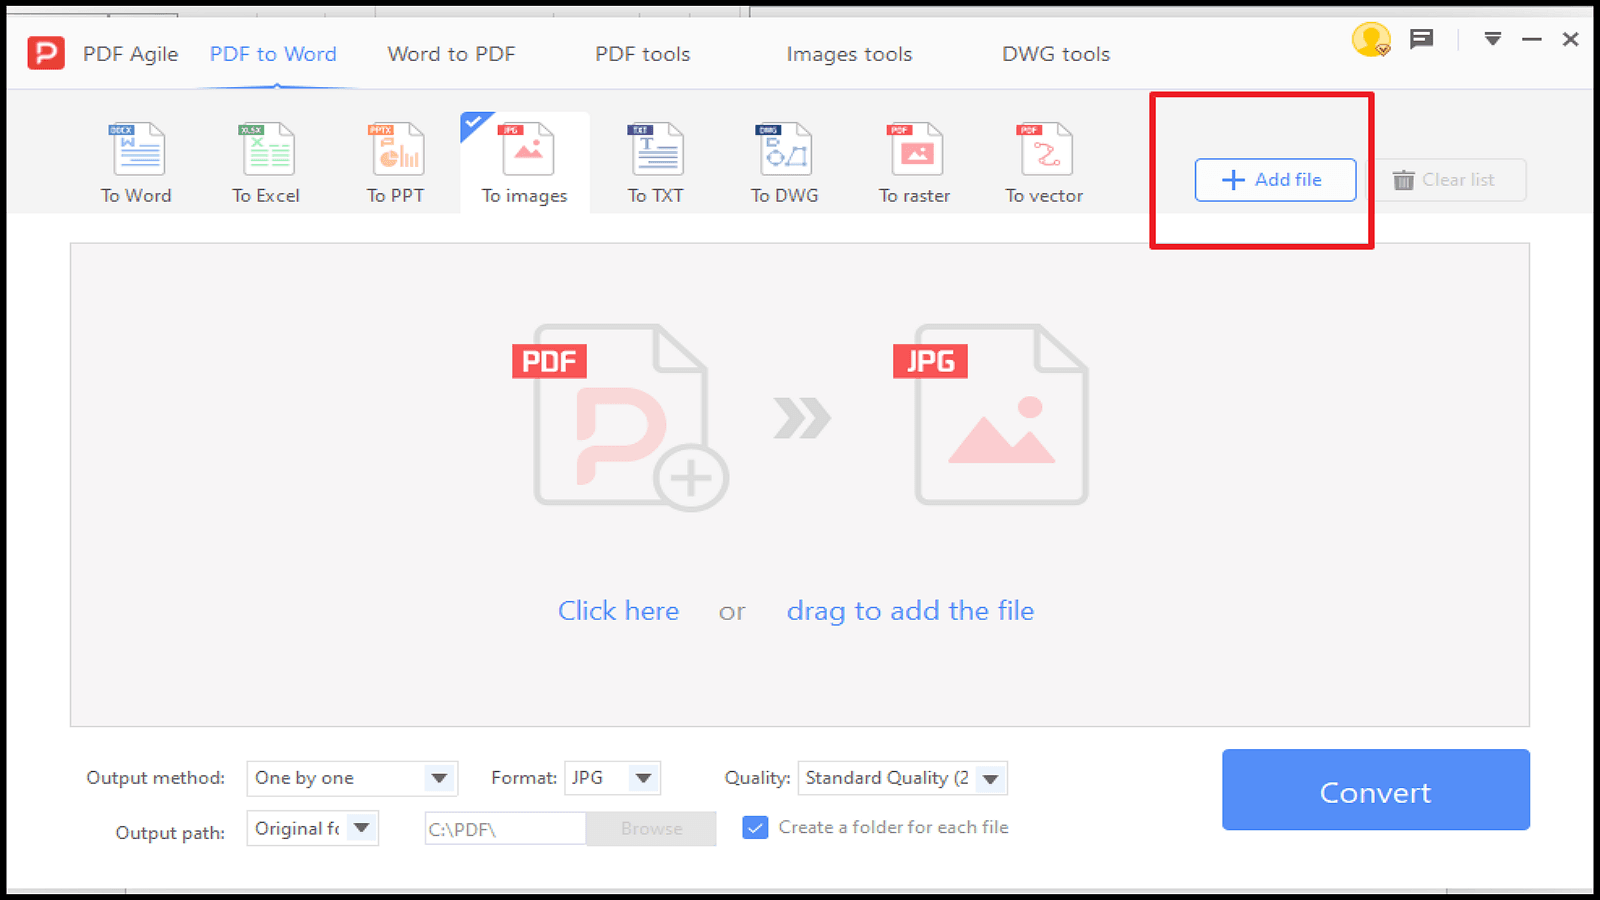
5. Choose PNG as a desired output format.
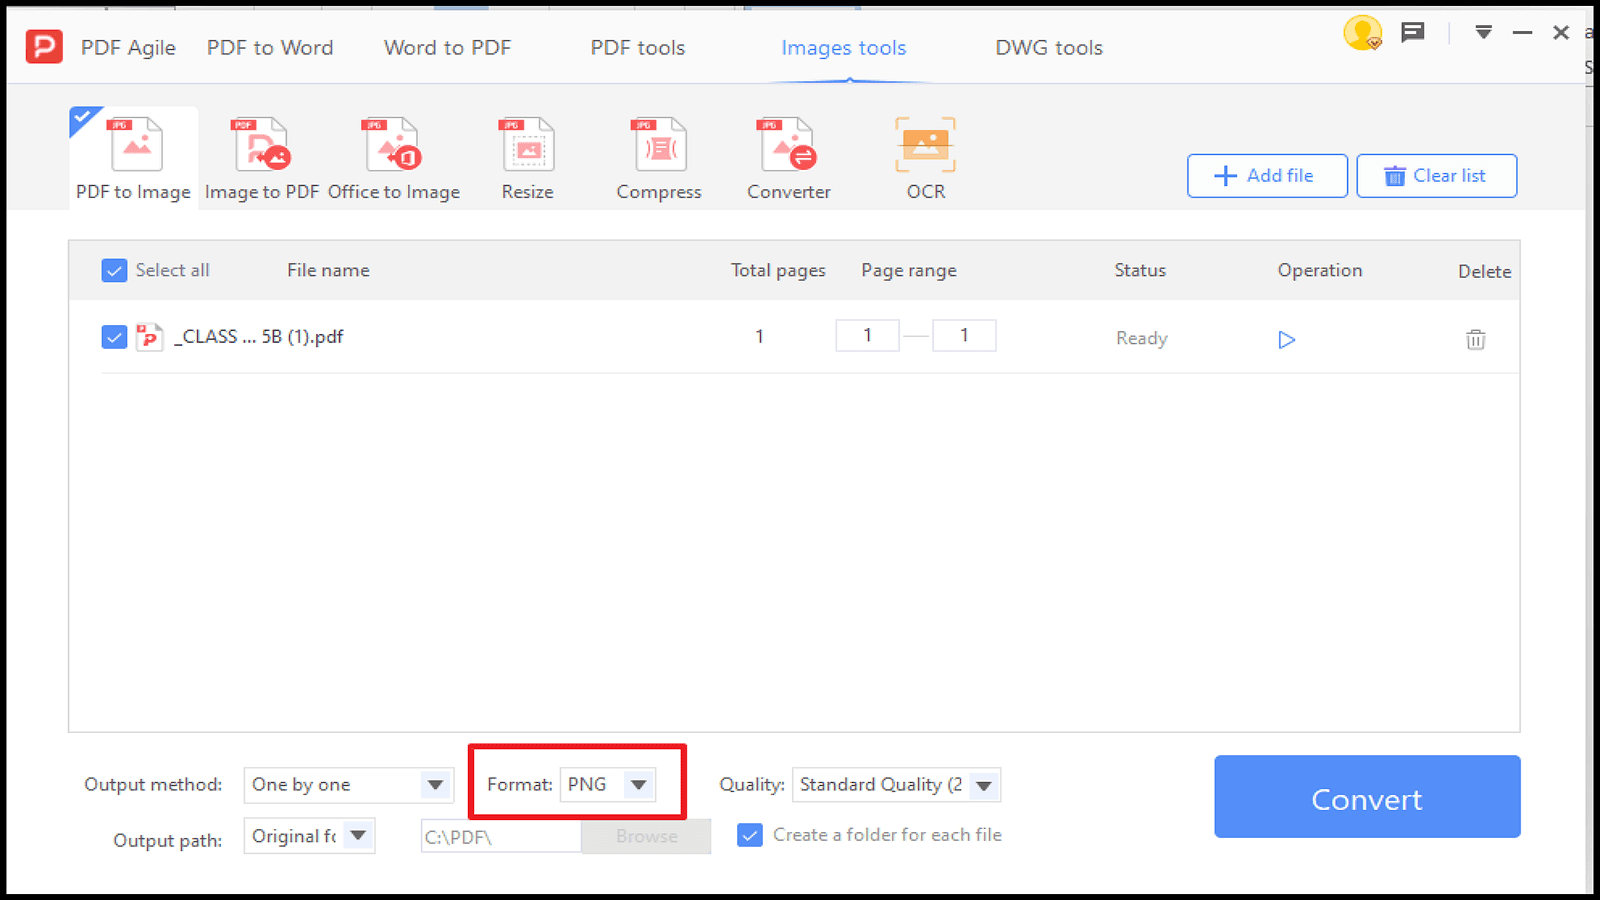
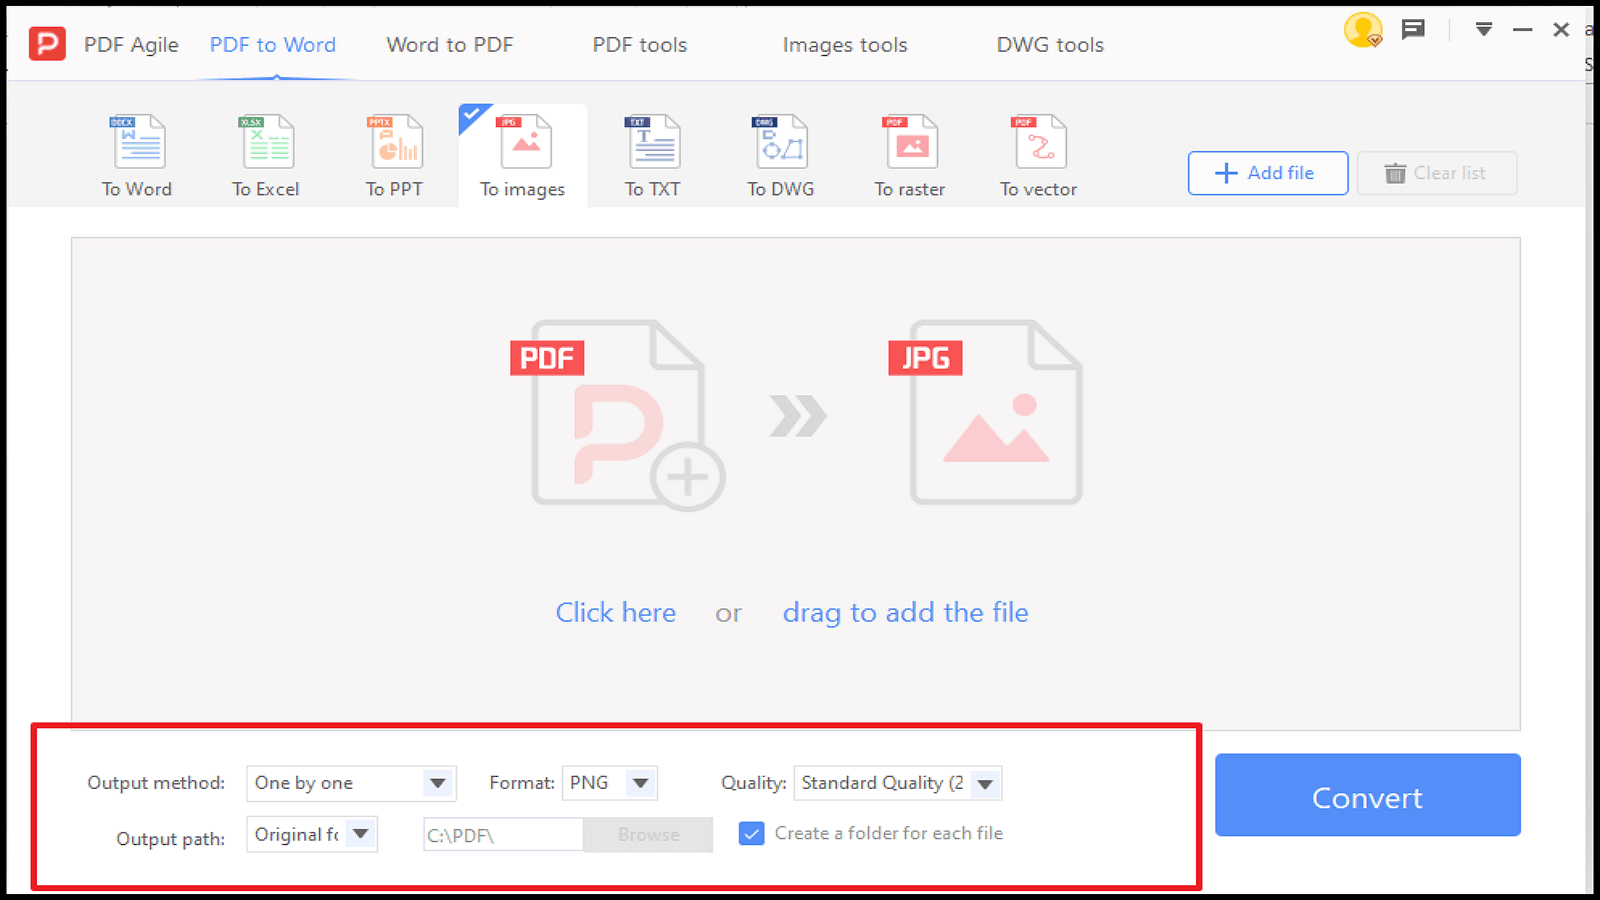
6. Now adjust any settings related to quality or resolution as your document needs.
7. Click the Convert button to initiate the process of conversion.
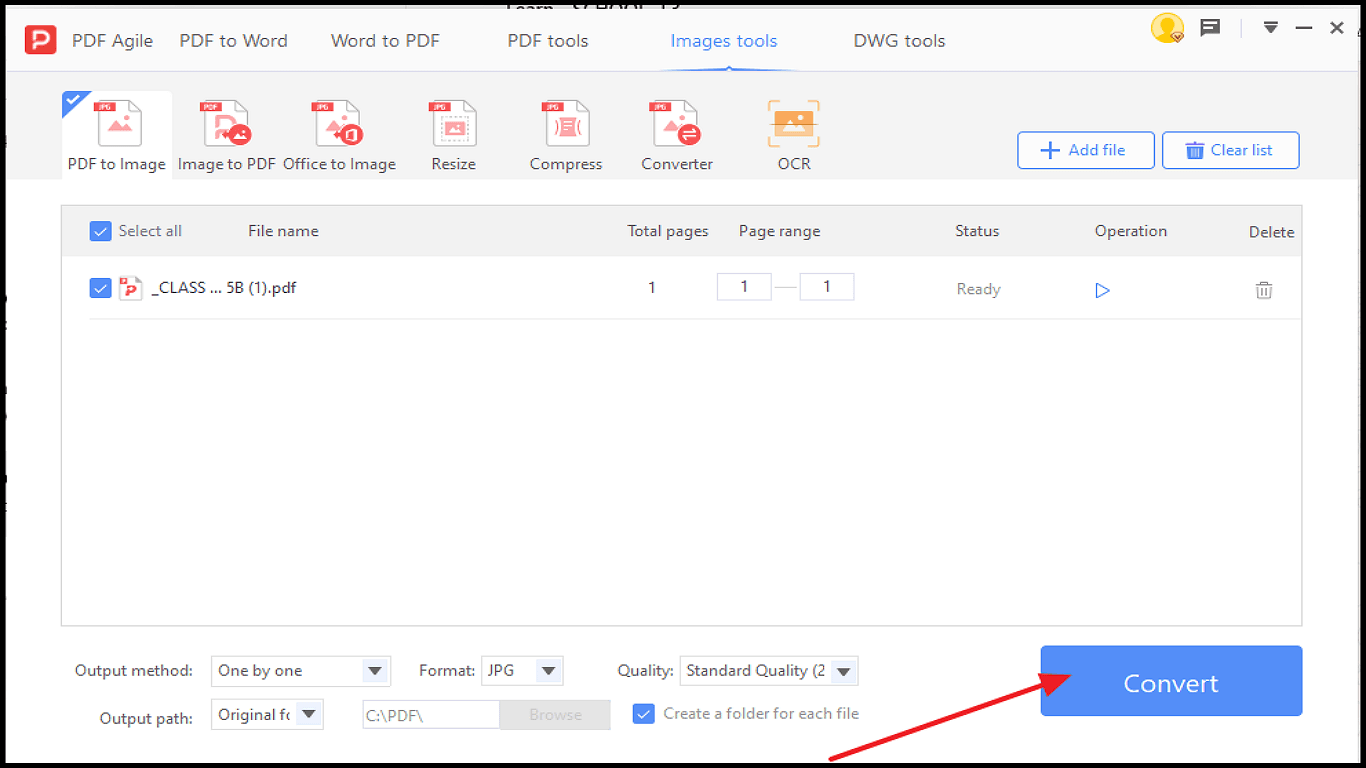
8. Your PNG file will automatically be saved to your desired location once completing conversion.
Your PDF will become one single PNG image while choosing Selected Pages in an Image File in Step 2 of the PDF to PNG converter. However if you don't, the converter will make each PDF page into a separate PNG image.
You Can Also Convert A PDF To A High-Resolution PNG Image
To save each PDF page as its PNG, you can choose from 50%, 100%, 200%, 300%, and 400%. So if you convert a multi page PDF into a single PNG file, save it at either Standard or High Quality resolution.
Because higher resolutions give better image quality. They increase the file size too. Normal Quality and Standard Quality are common resolutions for web images. High Quality is often used for printing purposes. Choose the resolution that works best for your PNG images based on your storage space and desires.
Method 2: Convert PDF to PNG with Adobe Photoshop
Do you know Adobe Photoshop is not just an image editor. Yes, it can also convert PDFs to image formats like PNG, JPEG, TIFF and BMP versions. However, you can convert a single page or multiple pages from a PDF into individual image files. It offers a comprehensive solution on Windows and Mac platforms both. See the given steps to convert using Adobe Photoshop:
Steps to Convert PDF to PNG
1. Open Adobe Photoshop and load the PDF file you wish to convert in PNG. Just make sure all the pages you need are open in the program already.
2. Create an Action:
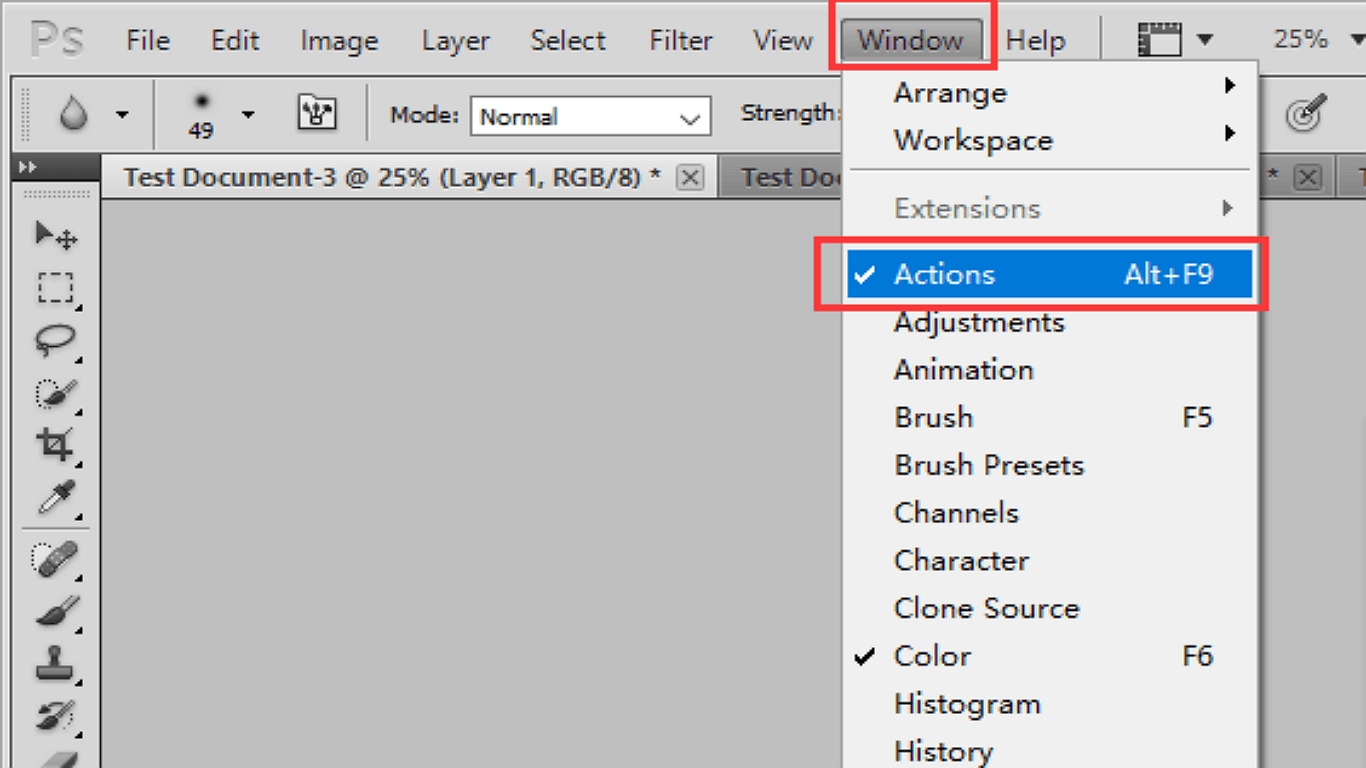
- Go to the top menu and select Window
- Choose Actionsfrom the dropdown list.
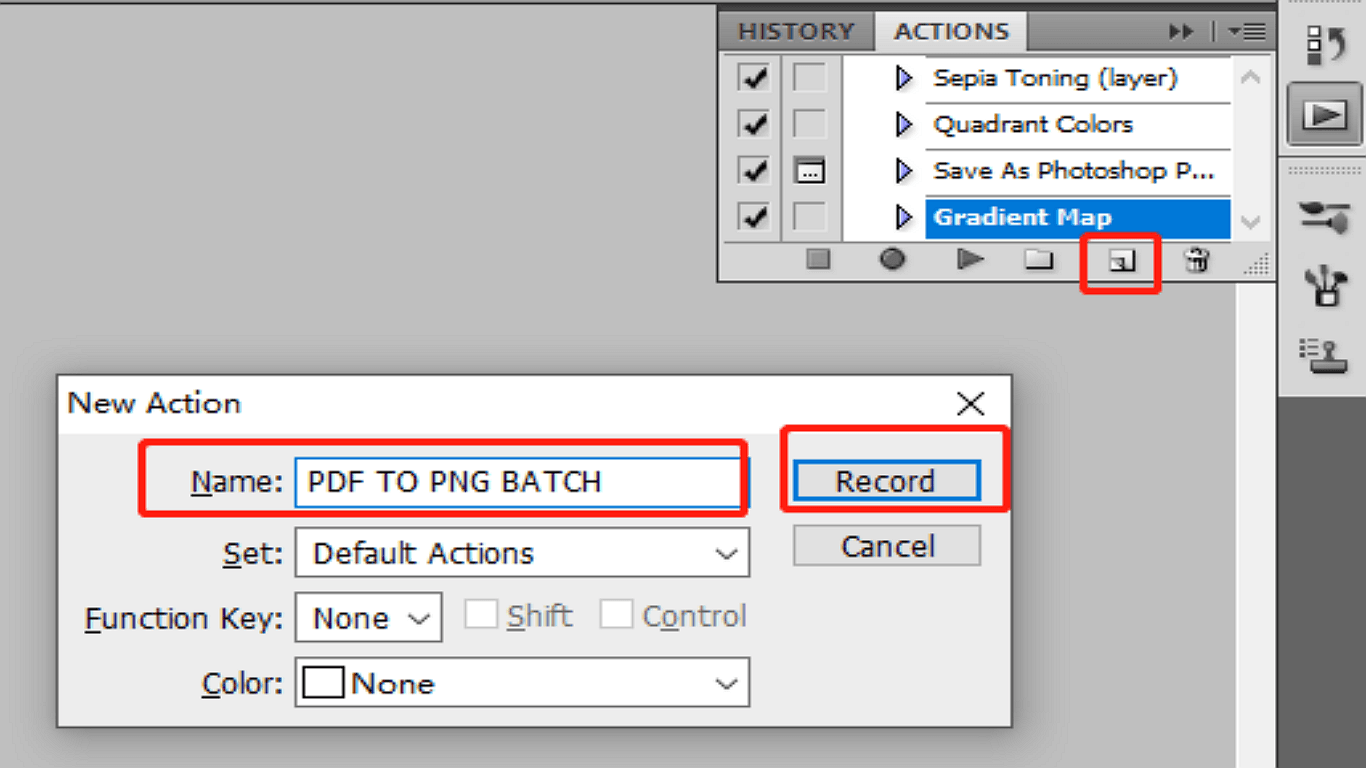
- Click the Create new actionicon in the Actions panel
- Give your action a name and hit Recordbutton
3. Save PDF as PNG:
- Go to Fileand select Save As option.
- Select PNGfrom the Format dropdown menu to save the PDF page as a PNG image.
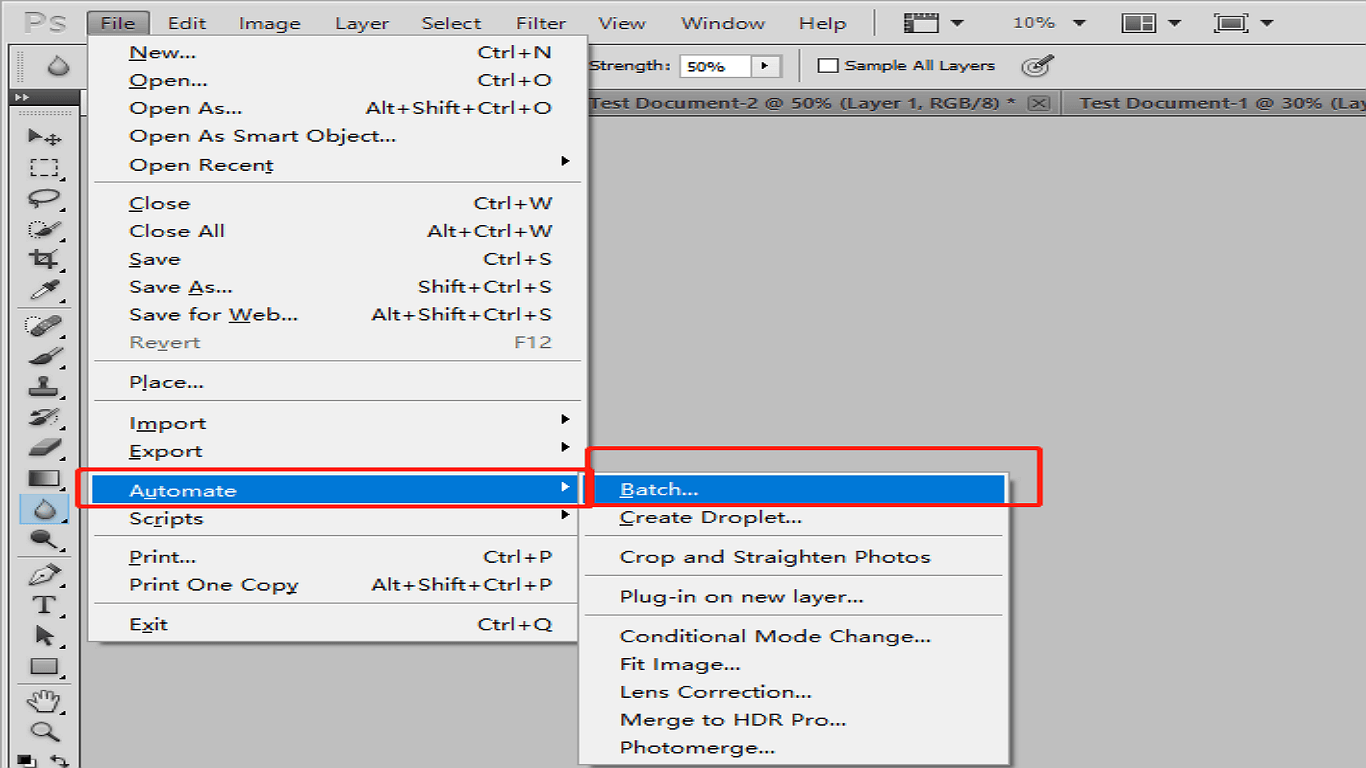
4. Batch Process All Pages:
- Go to Fileand select Automate
- Then click on Batch.
- Select the action you just created in the Batch dialog box.
- Pick Opened filesfrom the Source menu
- Hit OK to automatically convert all open PDF pages to PNG images.
So, Adobe Photoshop allows you to maintain high quality images during this conversion procedure. However, batch processing can save significant time and effort for those who frequently work with PDFs and image files.
Method 3: Convert PDF to PNG with Preview
Though preview is a built in application on Mac to view images and PDFs both. It also offers a simple way to convert PDF files into PNG. Now, follow these easy steps to convert PDF to PNG using Preview in mac:
1. Open the PDF:
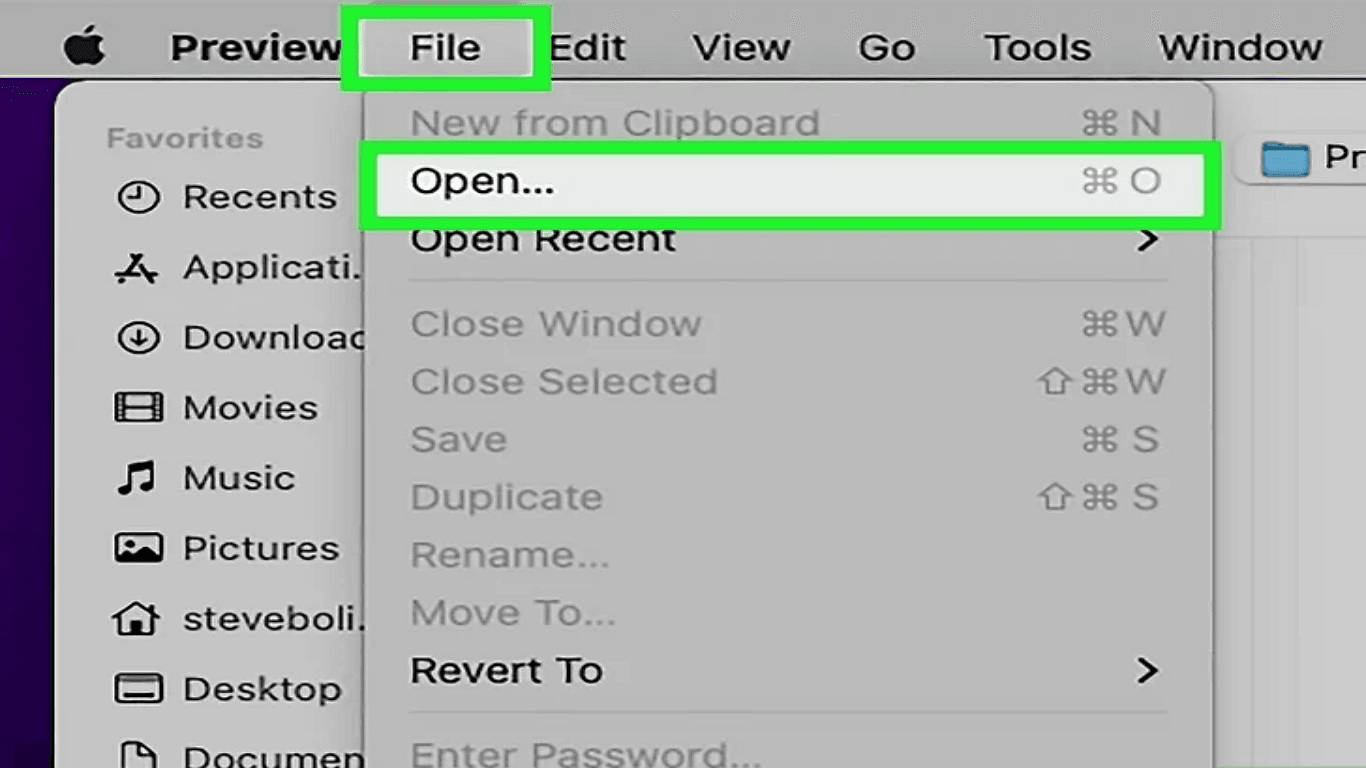
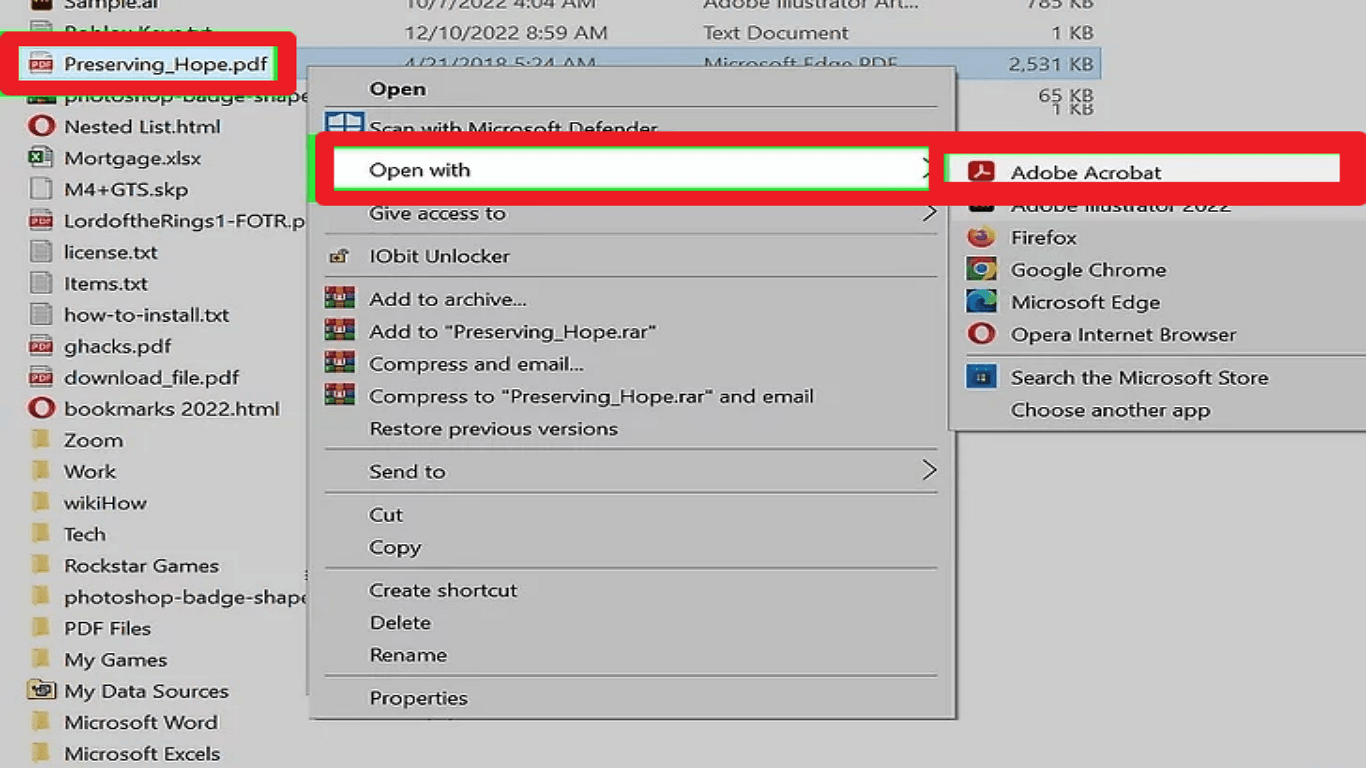
- Double click the PDF file you want to convert in PNG. It should open in Preview by default. If it does not, just right click the file,
- Choose Open With and select Preview option.
2. Select the Page: Select the thumbnail of the page you want to convert from the sidebar on the left if your PDF has multiple pages.

3. Export as PNG:
- Go to the Filemenu in the top-left corner.
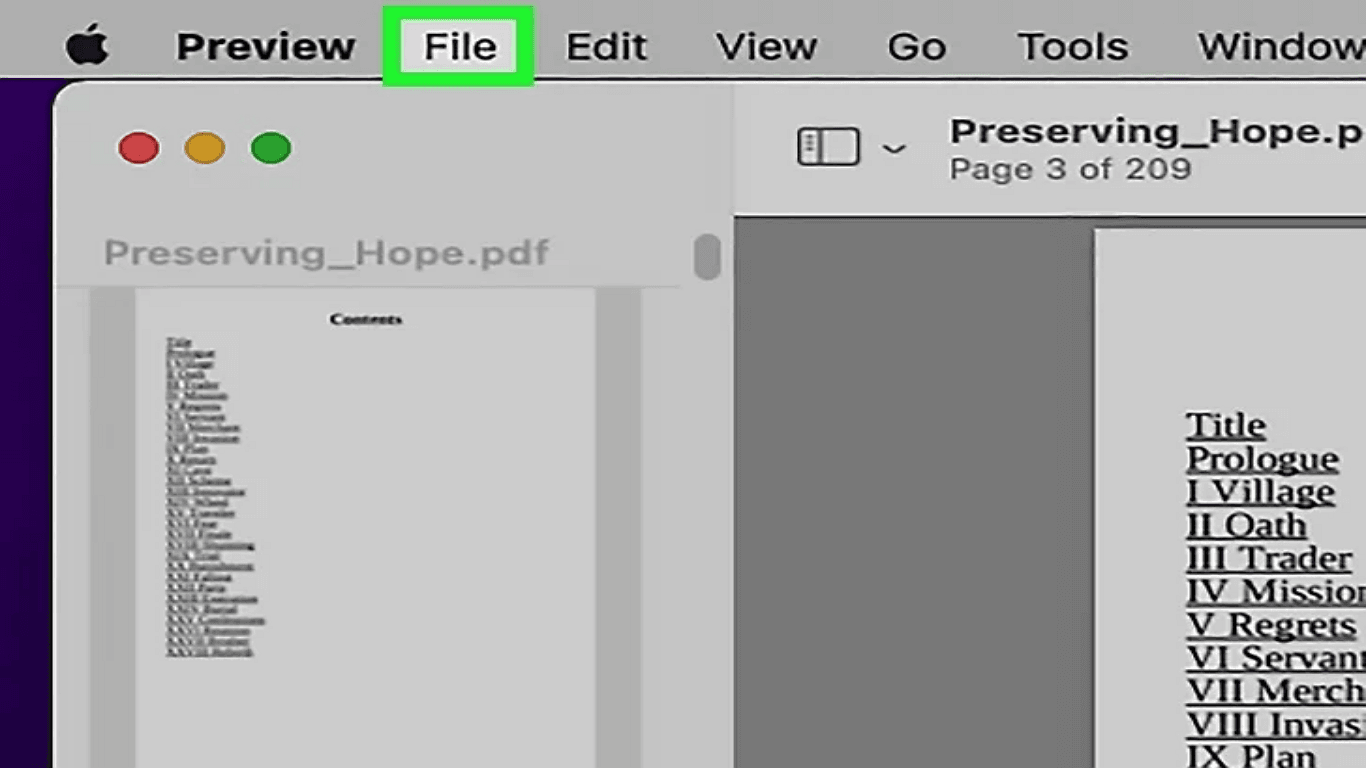
- Choose Export from the dropdown menu.
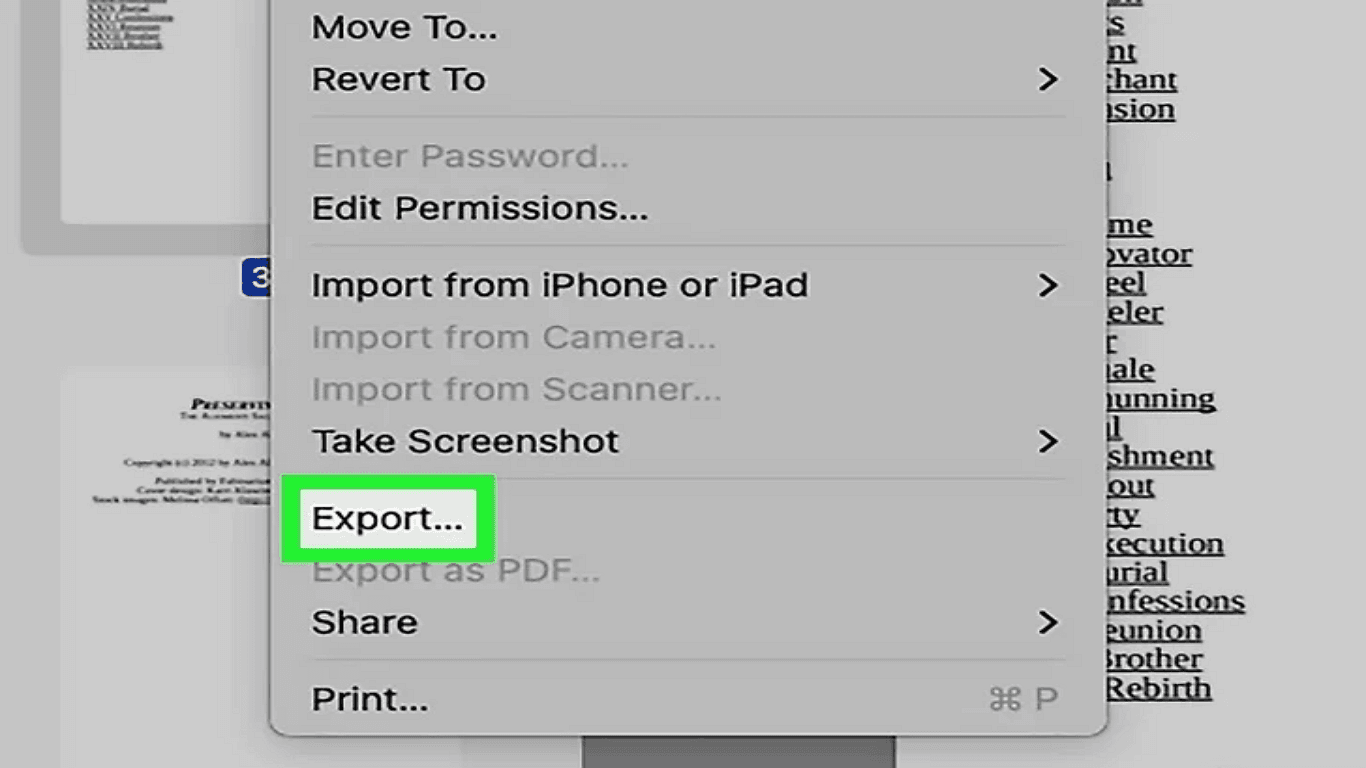
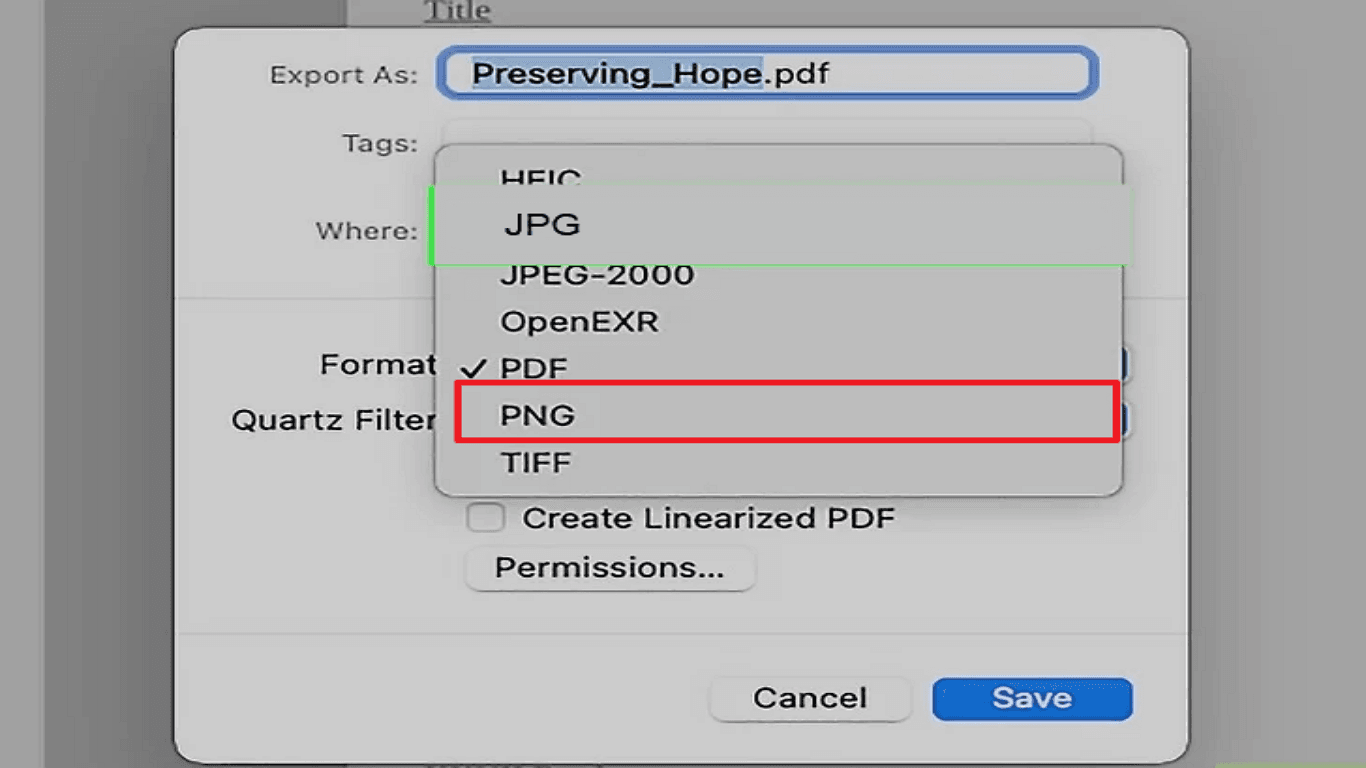
- Click the Format dropdown menu in the export dialog box.
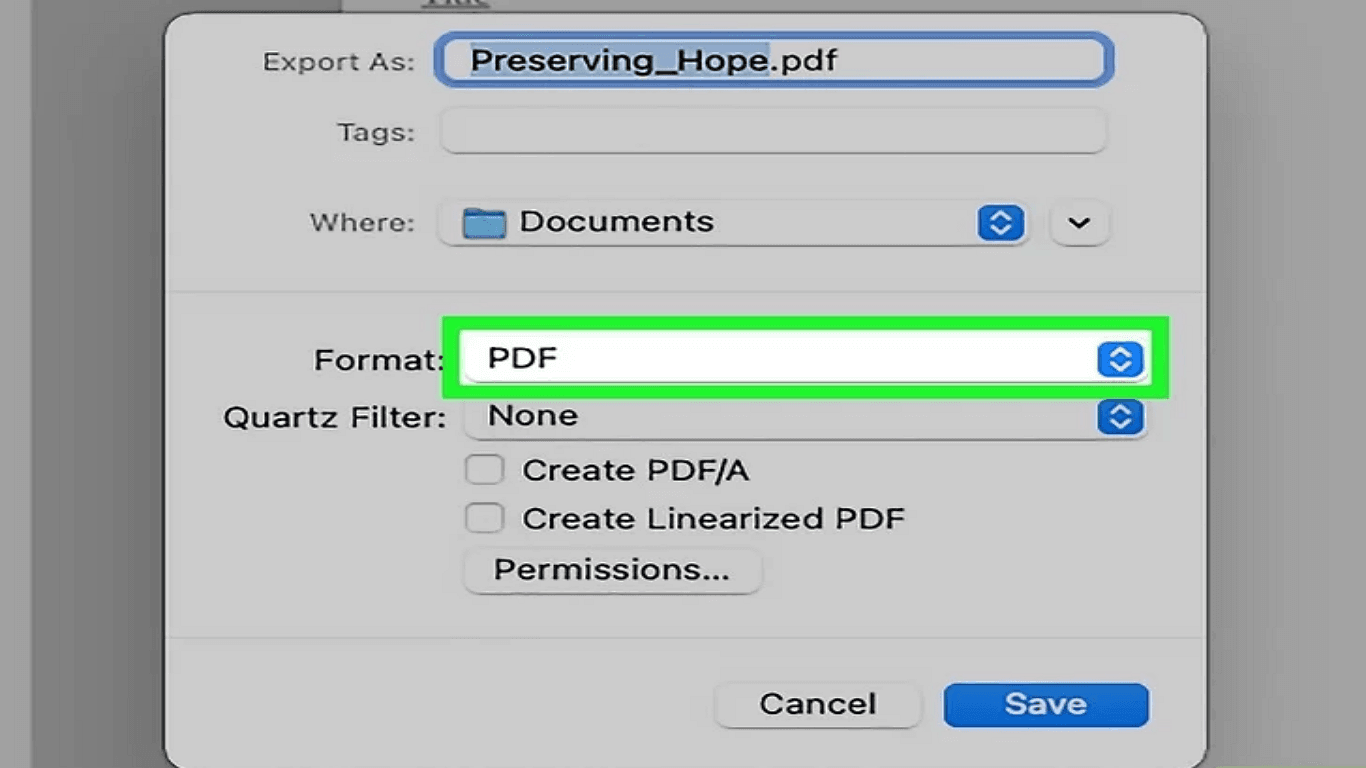
- Select PNG.
- Choose your desired location to save the file.
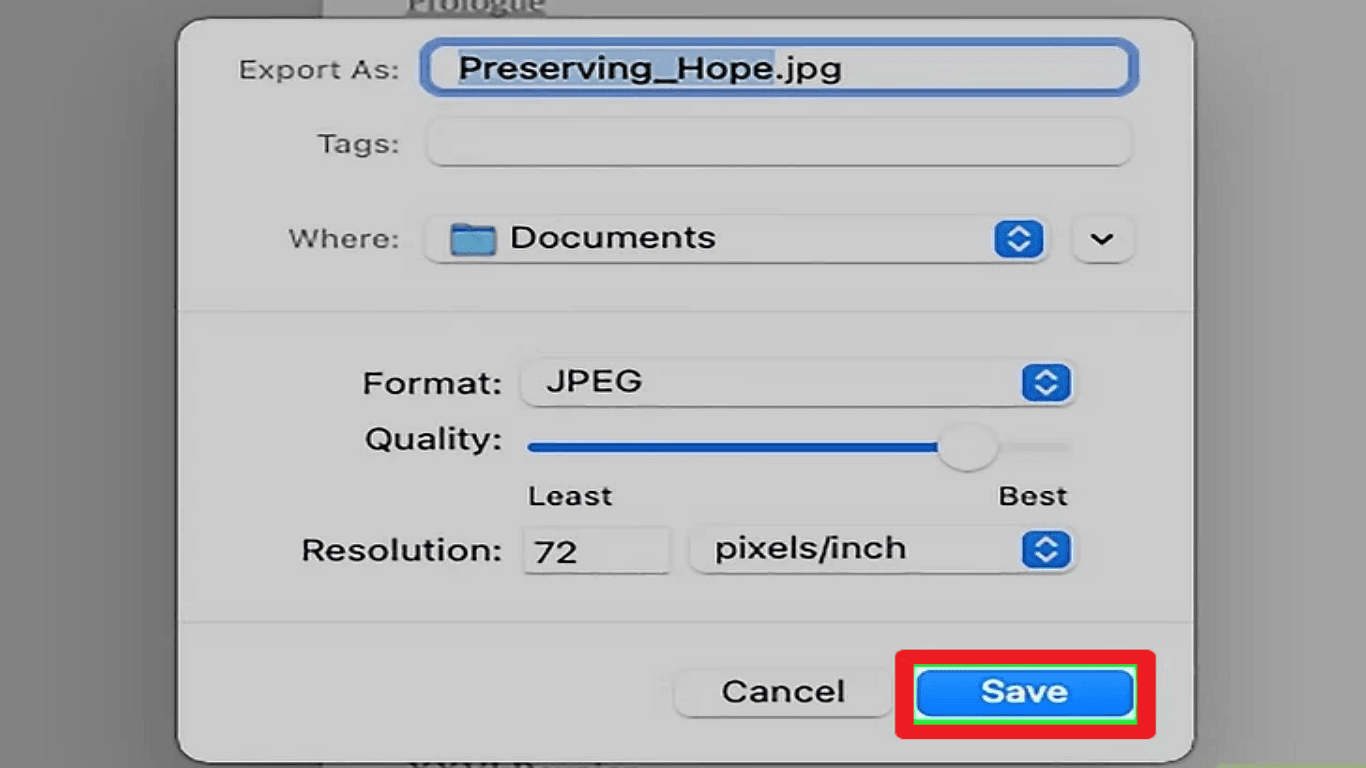
- Now click Save button.
Preview app makes the process quick and easy. It allows you to convert PDF pages to PNG without additional software.
Method 4: Convert PDF to PNG with Adobe Acrobat Pro DC
Thus, Adobe Acrobat Pro DC is a top choice for converting PDFs to PNGs on Windows and Mac both. Follow these steps to convert a PDF:
1. Open PDF: Launch Adobe Acrobat Pro DC and open your PDF file.
2. Export to PNG:
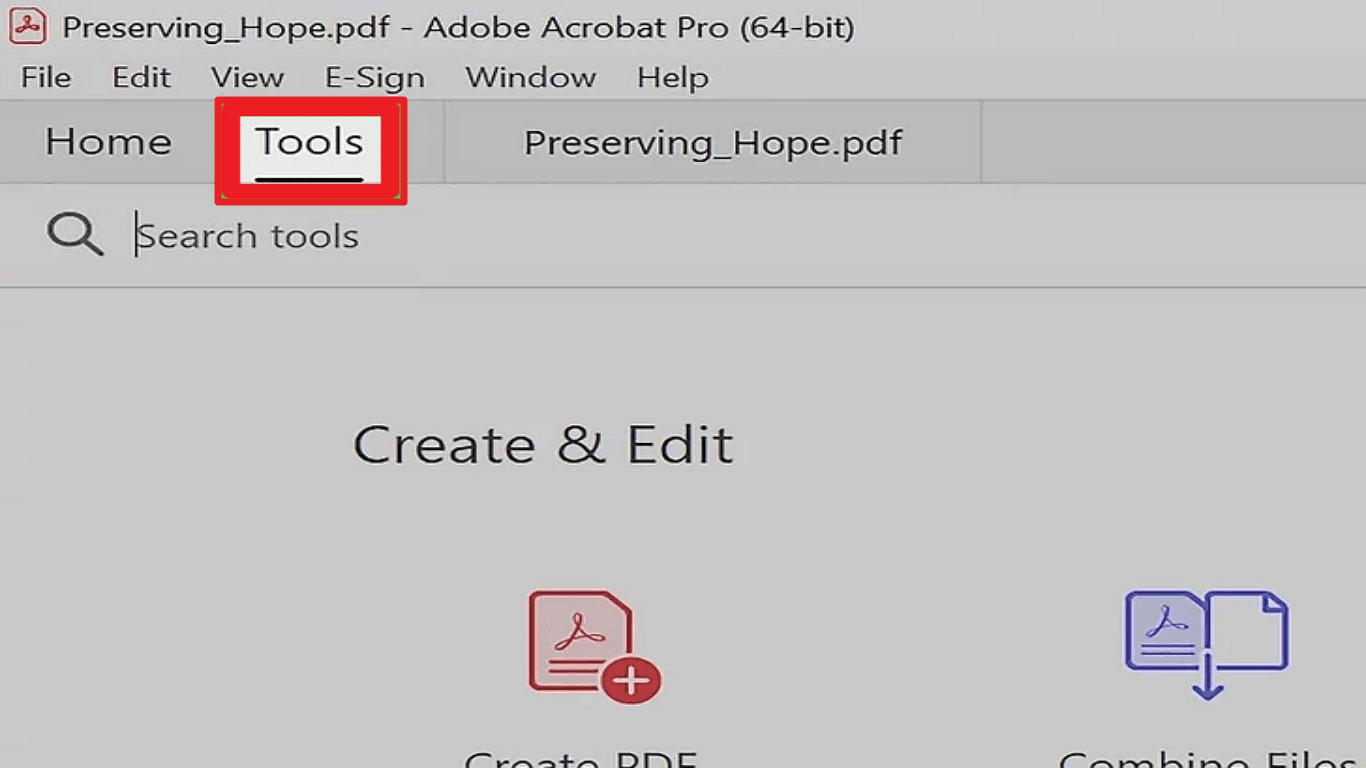
- Go to the Tools menu and select Export PDF.
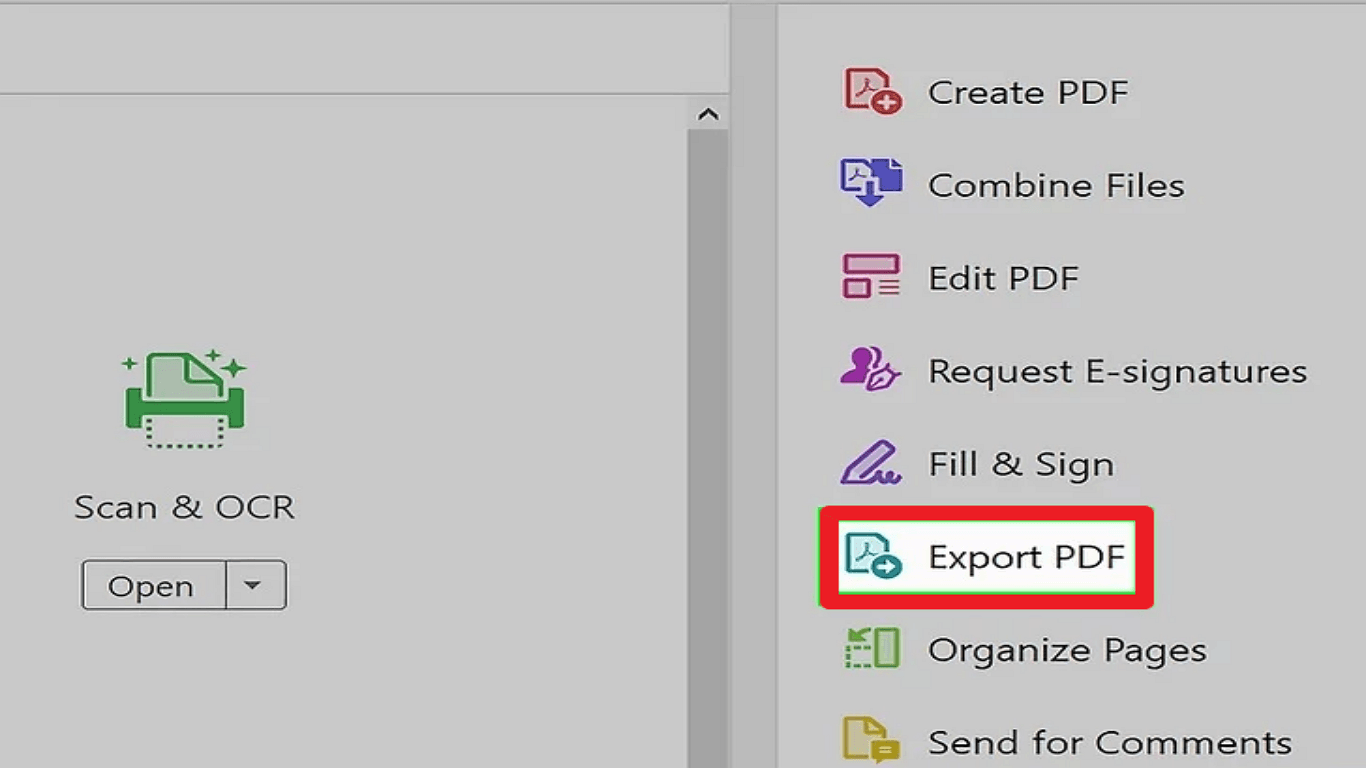
- Choose Image as the format, then select PNG.
- Click Export to save the PDF as a PNG file.
To batch convert multiple PDFs:
1. Create Action:
- Navigate to Tools> Action Wizard > New Action.
- Set up the action to save files as PNGs.
2. Add PDF Files:
- Add the PDFs you want to convert.
3. Start Conversion:
- Click Start to convert all selected PDFs to PNGs.
Adobe Acrobat Pro DC provides high-quality conversions and other useful features for managing PDFs.
Method 6: Convert PDF to PNG with PDF Agile Online Converter
PDF Agile online converter allows converting PDFs to JPG. You can then change it to PNG. Follow these steps:
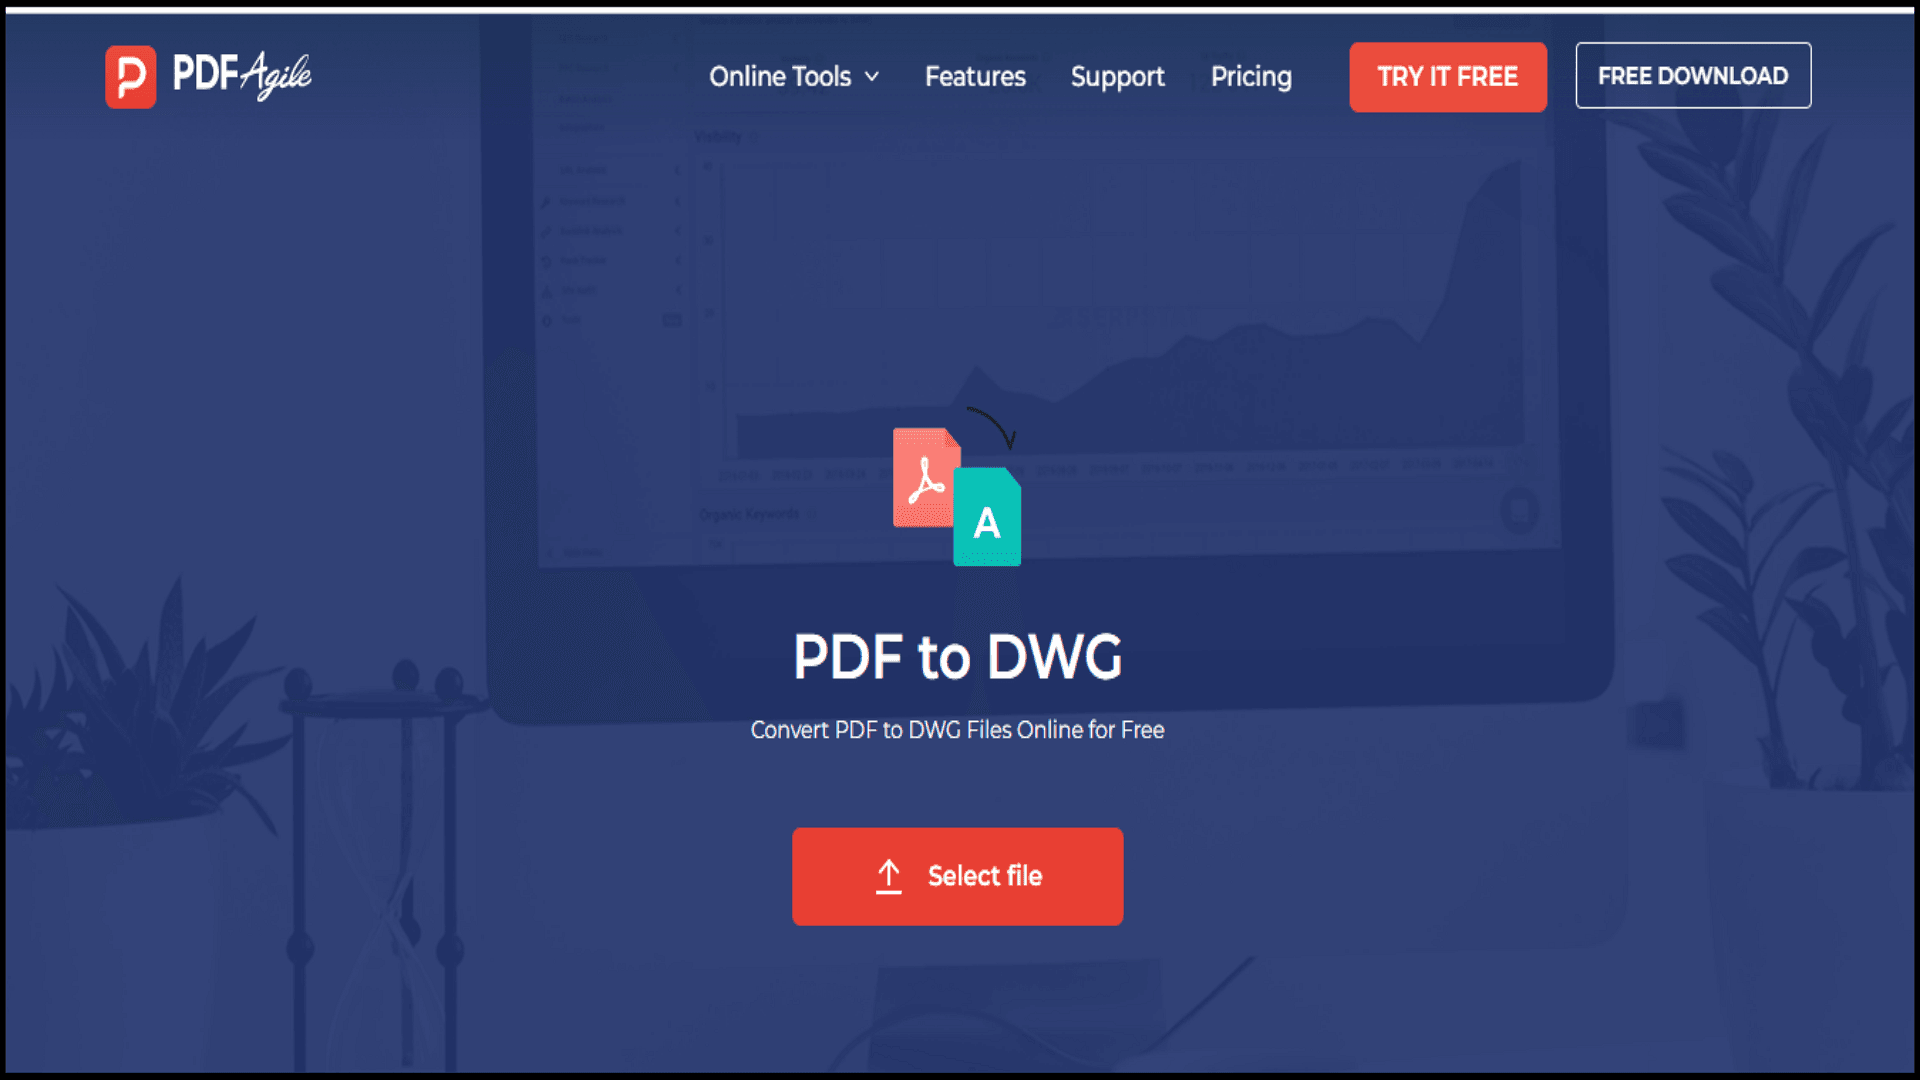
1. Visit the PDF Agile online converter.
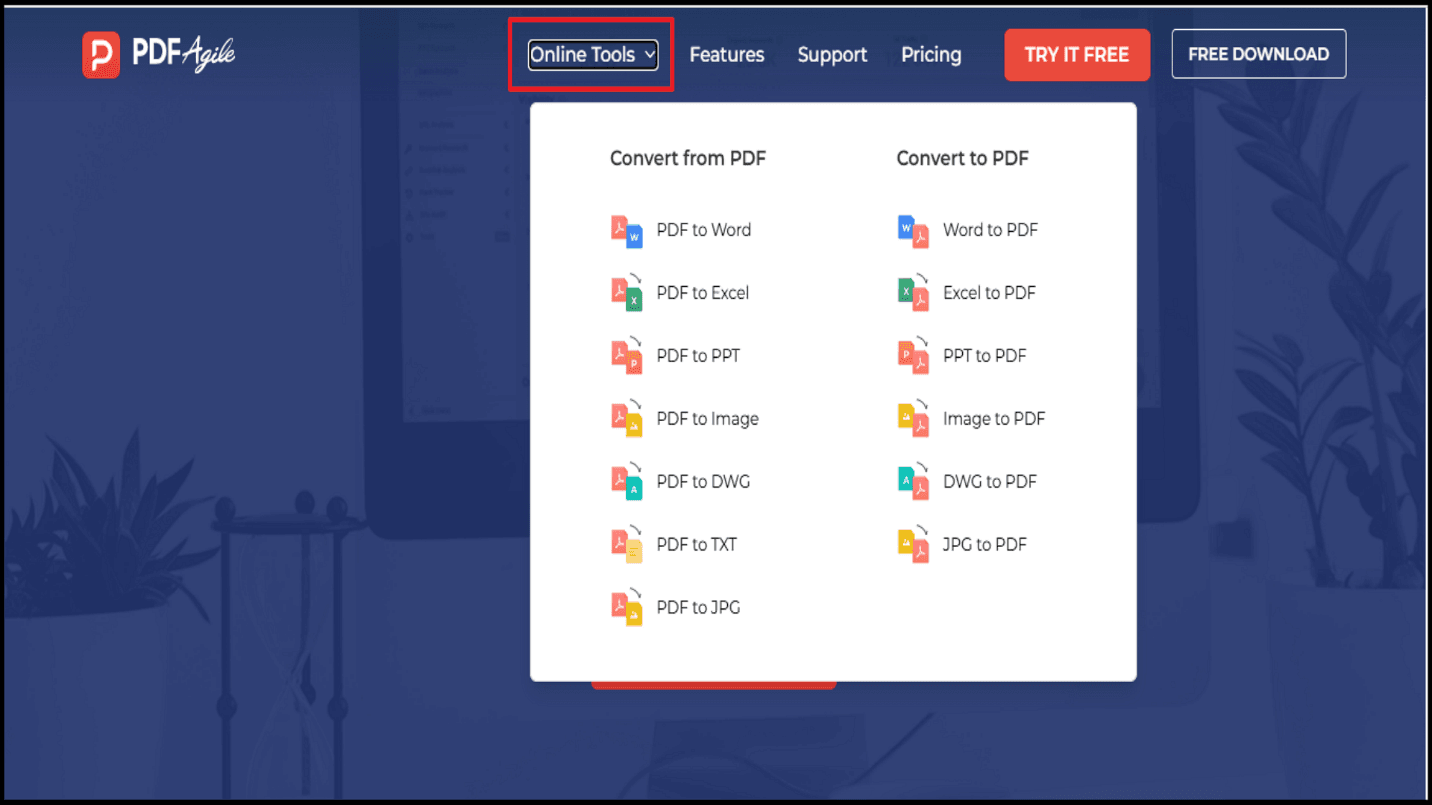
2. Click Online Tools icon.
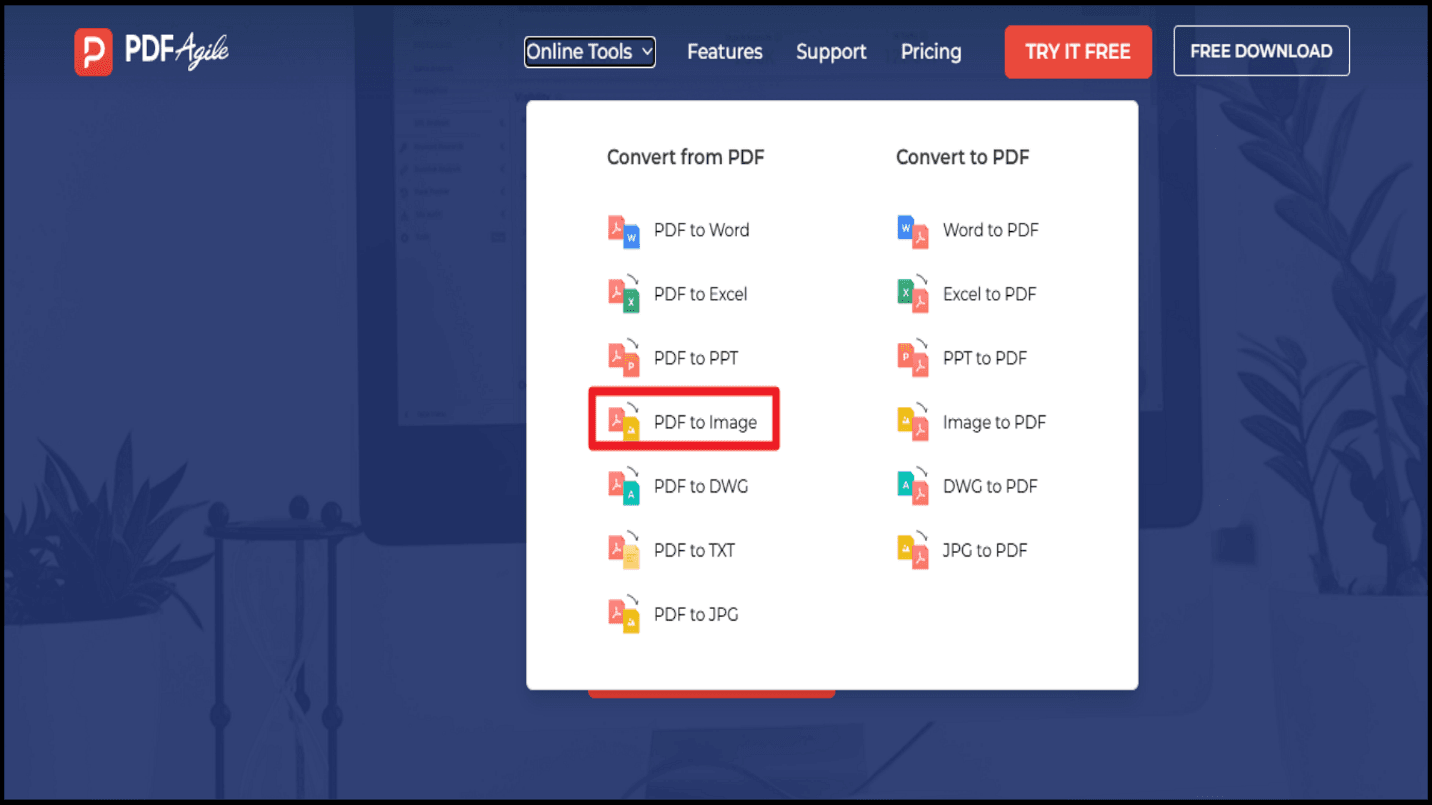
3. Select PDF to Image.
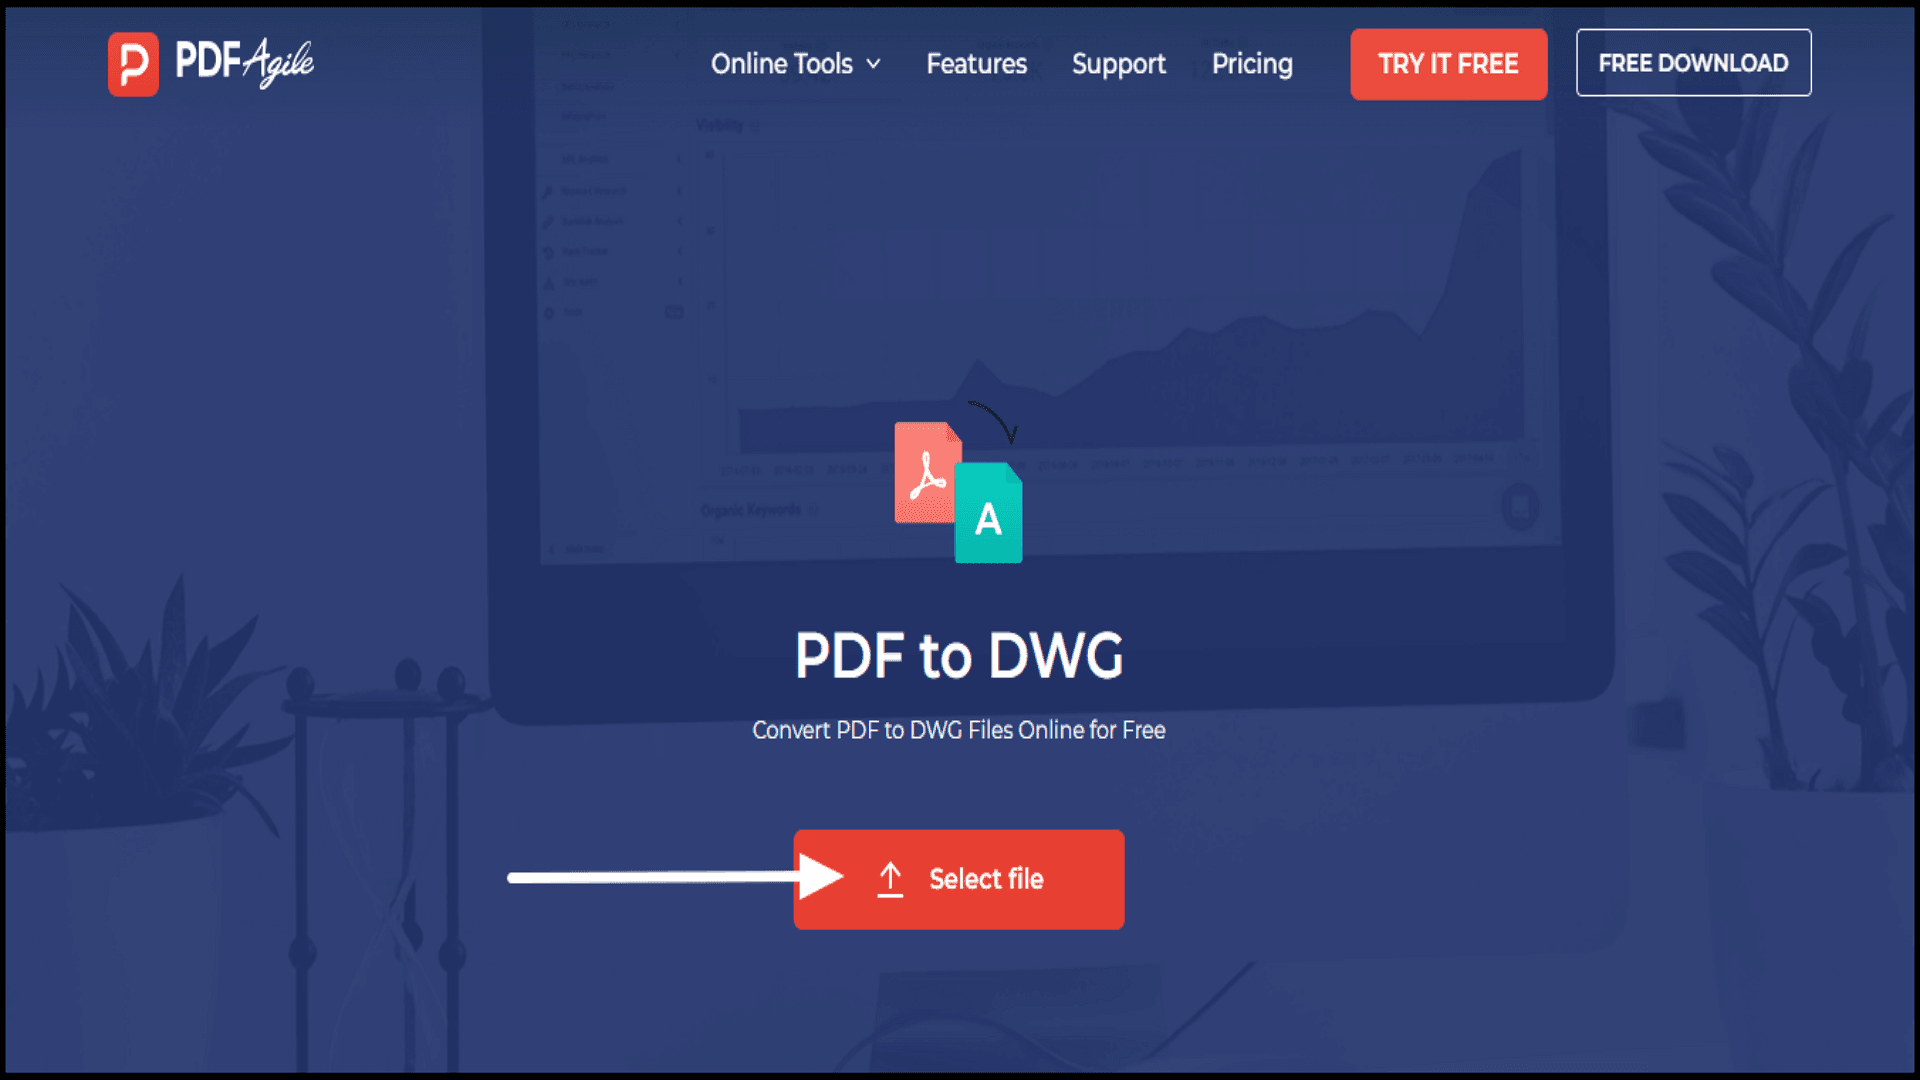
4. Upload your PDF file.
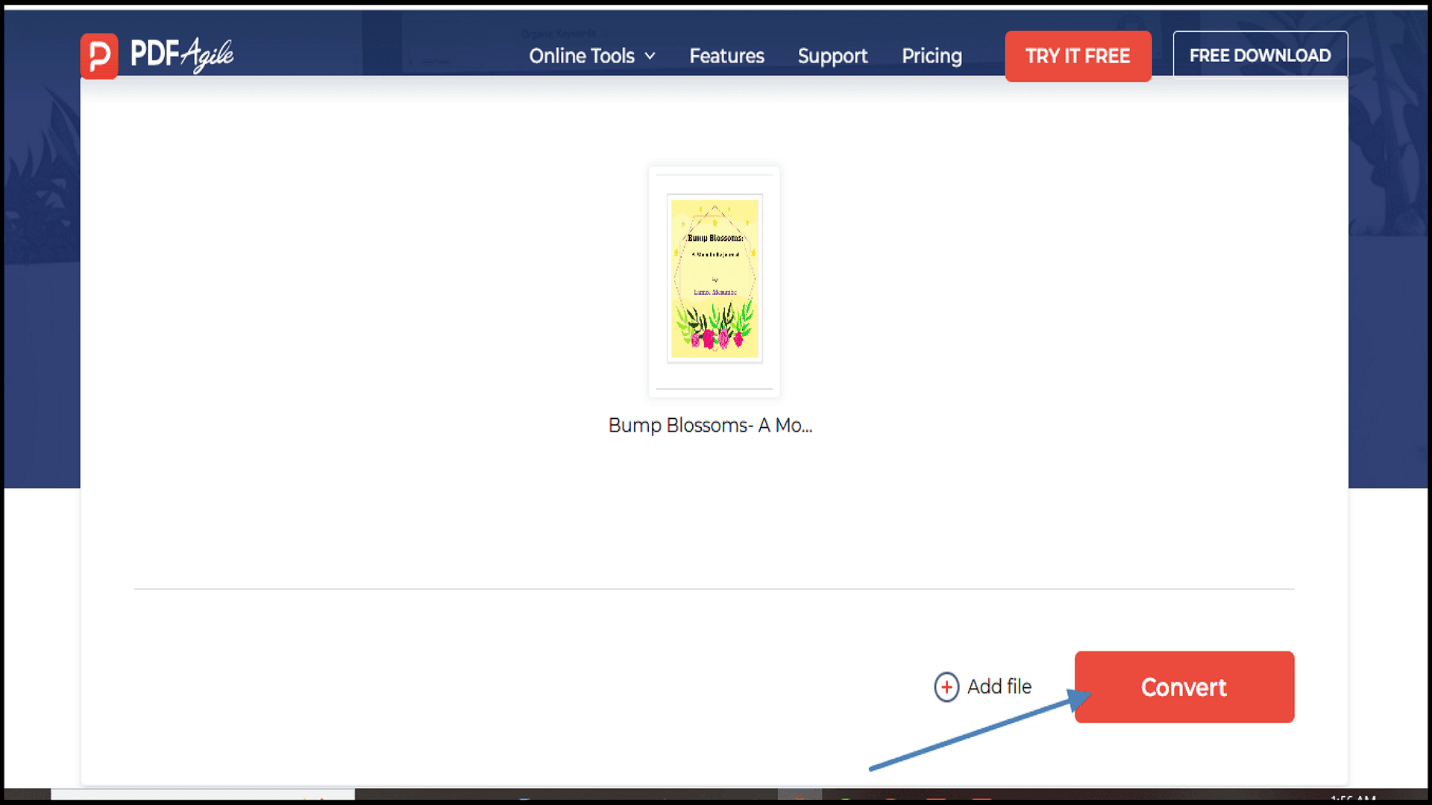
5. Download the converted JPG images.
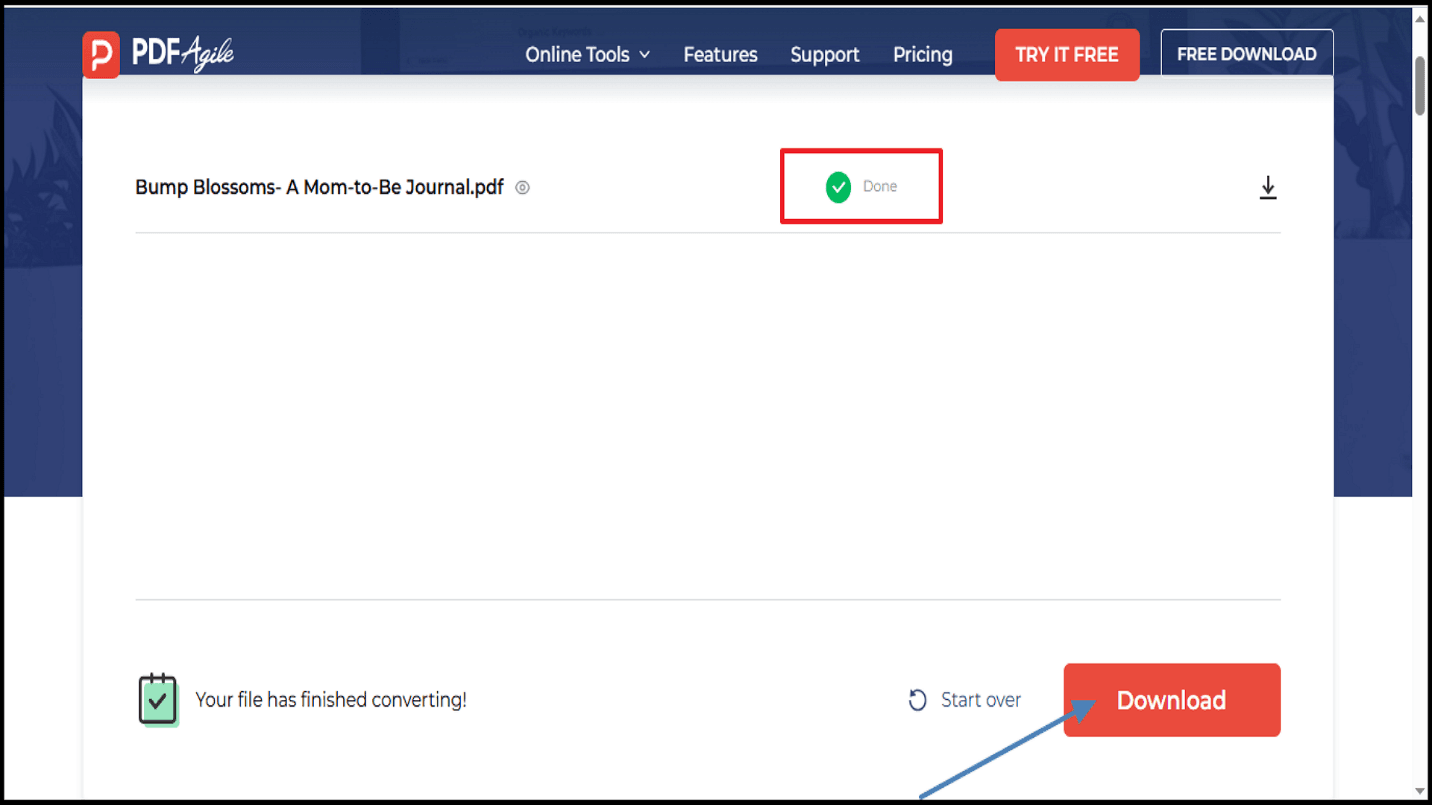
6. Change the file extensions from .jpg to .png manually.
A simple way to create PNG images from PDF files utilizing PDF Agile's features!
Conclusion
It is easy to convert PDFs to PNGs with various tools at your disposal hand. So whether you prefer online converters or desktop software like PDF Agile, you will find a solution that suits your requirements. For more tips and detailed guides, visit PDF Agile's conversion tips and how-to and tips. Choose the best method for your workflow and start converting today!